Imagine a world where rich, decadent chocolate ice cream is not only homemade but requires no fancy equipment, no stovetop cooking, and just five simple ingredients. Sounds like a dream, right? Well, it's about to become your delicious reality! Forget the store-bought tubs; this easy chocolate ice cream recipe delivers a remarkably creamy, intensely chocolatey treat with minimal effort. Perfect for satisfying those sudden sweet cravings or impressing guests with a truly homemade dessert, this no-cook method is a game-changer for any chocolate lover.
Many traditional chocolate ice cream recipes involve tempering eggs, creating a custard base on the stove, and then churning the mixture in an ice cream maker. While delicious, these steps can be time-consuming and intimidating for beginners. Our featured no-cook, five-ingredient chocolate ice cream recipe bypasses all that fuss, offering a streamlined path to frozen bliss. It's the ideal solution for hot summer days, impromptu gatherings, or simply when you need a quick, comforting treat without the hassle.
The Magic of No-Cook: Why This Recipe Shines
The beauty of a no-cook chocolate ice cream recipe lies in its sheer simplicity and accessibility. It democratizes the art of homemade ice cream, making it achievable for everyone, regardless of their kitchen skill level or equipment availability. Here’s why this method is truly exceptional:
- No Eggs, No Tempering: Traditional ice cream often relies on an egg yolk custard base, which requires careful tempering to prevent scrambling. This recipe eliminates eggs entirely, removing a major hurdle and making the process safer and more straightforward.
- No Stovetop Required: Say goodbye to pots, pans, and constant stirring over heat. All the mixing for this recipe happens in a single bowl, minimizing cleanup and keeping your kitchen cool.
- Quick Assembly: With just five ingredients, you'll be amazed at how quickly you can whip up the base mixture. The active prep time is typically under 15 minutes, leaving only the freezing time between you and your delightful dessert.
- Perfect for Beginners: If you've always wanted to try making homemade ice cream but felt daunted, this chocolate ice cream recipe is the perfect starting point. It builds confidence and delivers fantastic results every time.
- Incredibly Versatile: While phenomenal on its own, this ice cream serves as an excellent canvas for various add-ins and toppings, allowing you to customize it to your heart's content.
While an ice cream maker can provide an incredibly smooth, airy texture, the no-churn method, especially when combined with intermittent stirring, can yield surprisingly creamy results that are rich and deeply satisfying. It's truly a testament to how simple ingredients can create extraordinary flavors.
Your 5 Essential Ingredients for Irresistible Chocolate Ice Cream
The secret to this incredible chocolate ice cream recipe lies in its perfectly balanced, minimal ingredient list. Each component plays a crucial role in achieving that rich flavor and dreamy texture. Here are your five heroes:
- Heavy Cream (or Heavy Whipping Cream): This is the superstar ingredient. Heavy cream, with its high fat content (typically 36% or more), is essential for achieving the luxurious richness and creamy texture of your ice cream. When whipped, it incorporates air, creating a light, airy base that prevents the final product from becoming overly dense or icy. For the best results, ensure your cream is very cold before whipping.
- Sweetened Condensed Milk: This ingenious ingredient replaces both granulated sugar and milk, simplifying the no-cook process immensely. Sweetened condensed milk is essentially cow's milk from which water has been removed, with sugar added. Its thick, syrupy consistency and inherent sweetness dissolve perfectly into the cream, providing the ideal sweetness and contributing to the ice cream's smooth, velvety mouthfeel without needing any heat.
- Unsweetened Cocoa Powder: This is where the magic of chocolate truly comes alive! Unsweetened cocoa powder delivers a deep, intense chocolate flavor that is both robust and authentic. You can use standard natural cocoa powder for a classic taste, or opt for Dutch-process cocoa for a darker color and a slightly milder, less acidic chocolate note. Experiment to find your preferred depth of flavor.
- Pure Vanilla Extract: Often underestimated, vanilla extract doesn't just add its own flavor; it elevates and enhances the chocolate notes, adding complexity and warmth to the overall profile. A good quality pure vanilla extract can make a significant difference in the final taste of your homemade chocolate ice cream recipe.
- A Pinch of Salt: Just a tiny pinch of salt might seem counterintuitive in a sweet dessert, but it's a vital flavor enhancer. Salt balances the sweetness of the condensed milk and deepens the chocolate flavor, making it more pronounced and complex without making the ice cream taste salty.
Ingredient Substitutions & Flavor Variations
While sticking to the core five ingredients ensures simplicity, you can certainly play with variations:
- For an even richer chocolate experience: Stir in 2-4 ounces of finely chopped semi-sweet or dark chocolate along with the cocoa powder. Since there's no cooking involved, ensure the chocolate is very finely chopped so it melts and integrates well, or simply creates delightful flecks of chocolate throughout.
- Different extracts: While vanilla is classic, a touch of almond extract or peppermint extract could introduce exciting new flavor dimensions.
- Swirls and Mix-ins: Once the ice cream is partially frozen, you can swirl in caramel sauce, hot fudge, or peanut butter. Additions like chocolate chips, chopped nuts, or crushed cookies can also be folded in for extra texture and flavor.
Crafting Your Creamy Delight: Step-by-Step Instructions
Ready to make the easiest, most delicious homemade chocolate ice cream of your life? Follow these simple steps for a truly rewarding chocolate ice cream recipe:
- Prepare Your Bowl: Ensure your mixing bowl (preferably a large, chilled metal bowl) and whisk attachments are clean and very cold. This helps the cream whip up faster and firmer.
- Whip the Cream: Pour the cold heavy cream into your chilled bowl. Using an electric mixer (handheld or stand mixer with a whisk attachment) on medium-high speed, whip the cream until it forms stiff peaks. This means when you lift the whisk, the peaks of cream stand tall and hold their shape. Be careful not to over-whip, as it can turn grainy.
- Combine Wet Ingredients: In a separate medium bowl, combine the sweetened condensed milk, unsweetened cocoa powder, pure vanilla extract, and the pinch of salt. Whisk vigorously until the mixture is completely smooth, well combined, and the cocoa powder is fully dissolved, leaving no lumps. It should be a thick, glossy chocolate syrup.
- Gently Fold: Add about one-third of your whipped cream into the chocolate condensed milk mixture. Gently fold it in with a spatula until just combined. This lightens the chocolate mixture, making it easier to incorporate the rest of the whipped cream without deflating it.
- Fold in Remaining Cream: Add the rest of the whipped cream to the chocolate mixture. Gently fold everything together using a 'cut and fold' motion until no white streaks remain and the mixture is uniformly chocolatey and airy. Be careful not to overmix, as this will deflate the air you’ve whipped into the cream, resulting in a less airy ice cream.
- Freeze It Up: Pour the mixture into a shallow, freezer-safe container (a loaf pan, a 9x13 baking dish, or an airtight container works well). Cover the container tightly with plastic wrap, pressing it directly onto the surface of the ice cream to prevent ice crystals from forming.
- The No-Churn Secret (for optimal creaminess): For the smoothest, creamiest texture without an ice cream machine, you'll need a little patience. Place the covered container in the freezer. Every 30-45 minutes for the first 2-3 hours, take the container out and vigorously stir the mixture with a fork or spatula. This breaks up any forming ice crystals and reincorporates air, resulting in a significantly creamier consistency. After the initial stirring phase, let it freeze undisturbed for at least 4-6 hours, or preferably overnight, until firm. For more in-depth tips on making homemade ice cream without a machine, check out our guide on Homemade Chocolate Ice Cream: Easy Recipe, No Machine Needed.
Tips for the Smoothest, Dreamiest No-Cook Chocolate Ice Cream
Achieving that perfect scoop of creamy, dreamy chocolate ice cream is all about a few key techniques and considerations. Here are some pro tips to elevate your no-cook creation:
- Start with Cold Ingredients: Ensure your heavy cream, bowl, and whisk attachments are thoroughly chilled. This creates the optimal environment for the cream to whip up quickly and hold its volume, which is crucial for the ice cream's airy texture.
- Don't Overmix the Whipped Cream: Whip the cream until stiff peaks form, but stop there. Over-whipping can turn the cream grainy, which will affect the final texture of your ice cream.
- Gentle Folding is Key: When combining the chocolate base with the whipped cream, use a light hand and a folding motion rather than stirring vigorously. This preserves the air in the whipped cream, contributing to a lighter, airier ice cream.
- Shallow Container for Freezing: Using a shallower container allows the ice cream to freeze more evenly and quickly, which can help reduce large ice crystal formation.
- The Power of Stirring: The intermittent stirring during the initial freezing phase is non-negotiable for a truly creamy no-churn ice cream. It disrupts ice crystal growth and mimics the churning action of an ice cream maker. Don't skip this step!
- Airtight Storage: Always store your ice cream in an airtight container with plastic wrap pressed directly onto the surface to prevent freezer burn and keep it tasting fresh.
- Allow to Soften Before Serving: Homemade ice cream, especially no-churn varieties, can freeze quite firm. For the best scooping and eating experience, let it sit out at room temperature for 5-10 minutes before serving.
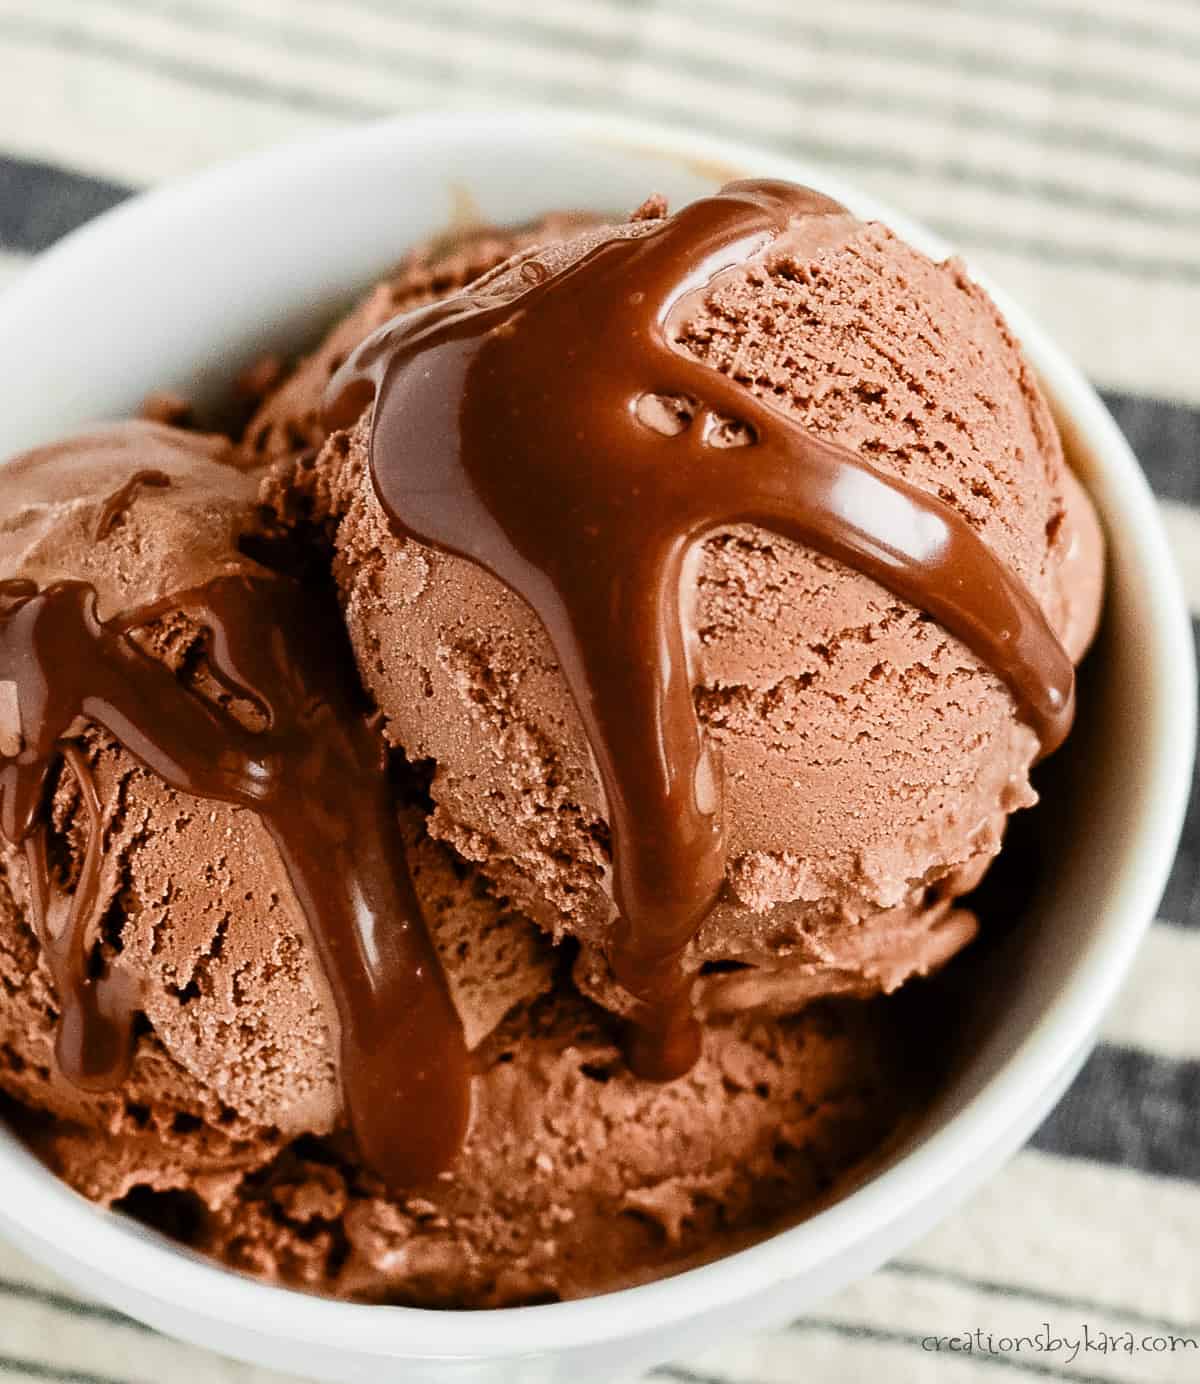
- Serving Suggestions: This chocolate ice cream is divine on its own, but it also makes an incredible accompaniment to a warm brownie, a slice of apple pie, or alongside fresh berries. Top with extra chocolate shavings, a drizzle of fudge sauce, whipped cream, or sprinkles for an extra festive touch.
This chocolate ice cream recipe proves that you don't need an arsenal of kitchen gadgets or culinary degrees to create something truly spectacular. With just five basic ingredients and a little patience, you can conjure up a batch of rich, creamy, homemade chocolate ice cream that rivals any store-bought variety. It’s the perfect treat for any occasion, a testament to the joy of simple pleasures, and an absolute must-try for every chocolate enthusiast. So, next time a chocolate craving strikes, ditch the complicated recipes and embrace the ease and deliciousness of this no-cook marvel. Happy scooping!
