There's something truly magical about a scoop of rich, creamy chocolate ice cream. It's the ultimate comfort food, a delightful escape on a hot day, or the perfect accompaniment to your favorite dessert. While store-bought options abound, nothing quite compares to the unparalleled flavor and velvety texture of a homemade batch. And the best part? Creating this blissful treat with our easy chocolate ice cream recipe is simpler than you might think!
Forget complicated techniques or the need for a fancy ice cream maker – this guide will equip you with everything you need to whip up a decadent dessert that will have everyone asking for seconds. We'll dive deep into the essential ingredients, walk you through the process step-by-step, and even share clever tricks for achieving perfect creaminess without an ice cream machine. Get ready to transform your kitchen into an artisanal ice cream parlor!
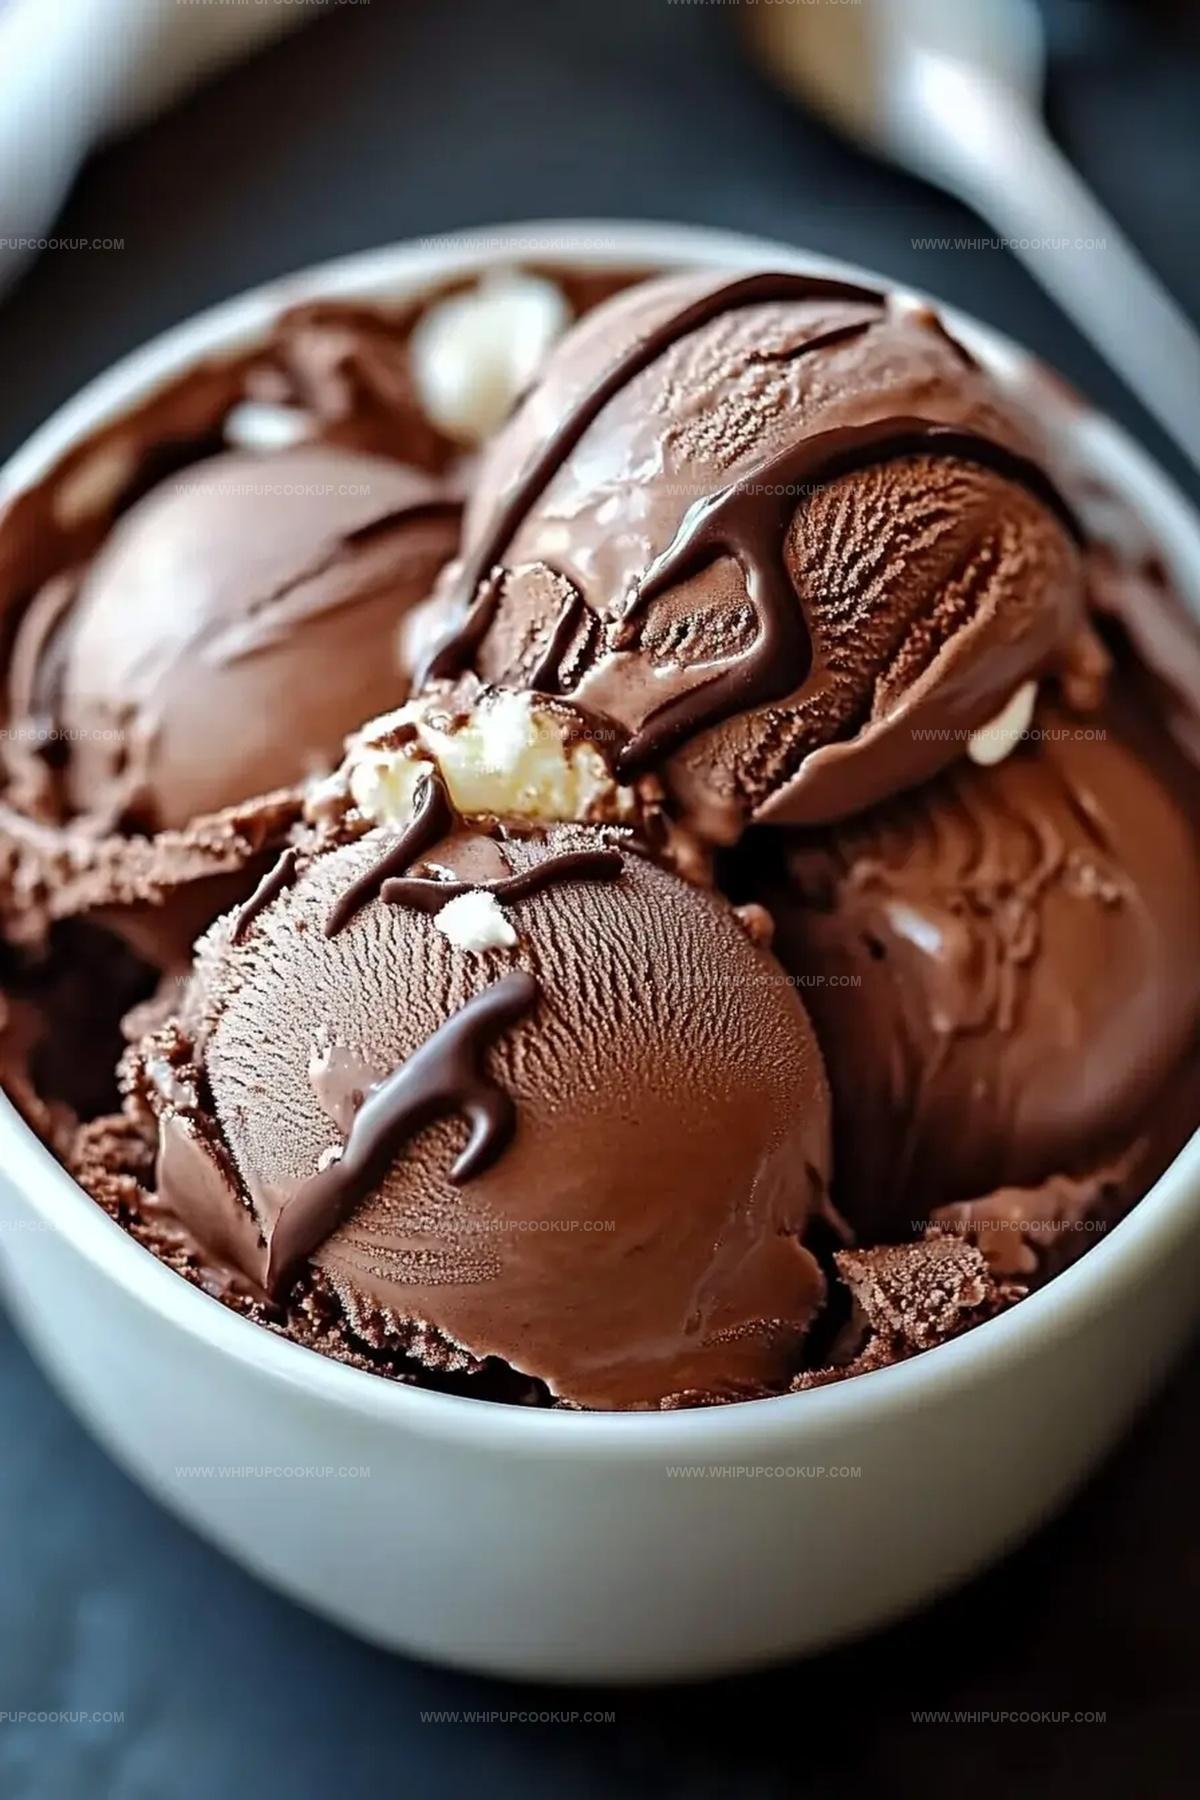
The Ultimate Homemade Chocolate Ice Cream: Why It's So Good
Why bother making ice cream from scratch when you can simply grab a tub from the freezer aisle? The answer lies in control, freshness, and an incomparable depth of flavor. When you craft your own chocolate ice cream recipe, you dictate the quality of ingredients, the intensity of the chocolate, and the level of sweetness. This allows for a truly personalized experience that store-bought versions simply can't match.
Our featured chocolate ice cream recipe is designed for both ease and exceptional results. It promises a dessert that is:
- Rich and Creamy: Thanks to a balanced ratio of dairy and high-quality chocolate, achieving that sought-after smooth mouthfeel.
- Bursting with Chocolate Flavor: We combine both cocoa powder and real chocolate for a complex, satisfying taste.
- Versatile: Delicious on its own, heavenly over warm brownies, or alongside a fresh fruit tart.
- Accessible: Whether you have an ice cream maker or not, this recipe has you covered!
There's a unique satisfaction that comes from scooping your own freshly made ice cream, knowing exactly what went into it. It's a sweet reward that hits the spot every single time, especially when that chocolate craving strikes.
Crafting Perfection: Essential Ingredients for Your Chocolate Ice Cream Recipe
The secret to incredible homemade ice cream lies in understanding the role each ingredient plays. While this chocolate ice cream recipe keeps things straightforward, quality matters. Here’s a closer look at what you’ll need and why:
Heavy Cream: The Foundation of Richness
Heavy cream is the star of the show when it comes to achieving that luxurious, velvety texture. Its high-fat content (typically 36% or more) is crucial for preventing ice crystal formation during freezing, resulting in a smooth, scoopable ice cream. For the absolute best results, opt for heavy whipping cream.
- Substitution Insight: If you're aiming for a lighter ice cream, half-and-half can be used, but be prepared for a noticeable difference in creaminess and a slightly icier texture. Lower-fat milks will yield even icier results.
Whole Milk: Balancing Act for Flavor and Creaminess
Whole milk complements the heavy cream by adding additional liquid, fat, and flavor to the base. It helps create a balanced consistency and contributes to the overall body of the ice cream.
- Substitution Insight: While 2% milk can be used, the reduction in fat will impact creaminess. For those seeking dairy-free alternatives, almond milk or oat milk can work in a pinch, but they tend to produce a firmer, potentially icier product due to their lower fat content compared to dairy.
Sugar: More Than Just Sweetness
Granulated sugar is essential not only for sweetness but also for contributing to the ice cream's texture. It lowers the freezing point of the mixture, which helps keep the ice cream softer and more scoopable.
- Substitution Insight: Brown sugar can be used for a deeper, more caramel-like flavor, which pairs wonderfully with chocolate. If using sugar substitutes like Stevia or erythritol, be aware that they can significantly alter the texture of the ice cream, often making it harder or less smooth.
Cocoa Powder & Semi-Sweet Chocolate: The Heart of the Flavor
This recipe doubles down on chocolate flavor by utilizing both unsweetened cocoa powder and semi-sweet chocolate. The cocoa powder provides a deep, earthy chocolate foundation, while the melted semi-sweet chocolate adds richness, intensity, and a beautiful silky mouthfeel.
- Cocoa Powder Tips: Unsweetened cocoa powder is ideal here. For a richer, less acidic chocolate flavor, Dutch-process cocoa powder is an excellent choice.
- Chocolate Choice: Semi-sweet chocolate (around 50-60% cacao) offers a perfect balance of sweetness and bitterness. Dark chocolate (70%+) will create a more intense, less sweet ice cream, while milk chocolate will yield a sweeter, creamier result. Choose a good quality chocolate bar for the best flavor!
Vanilla Extract & Salt: The Flavor Amplifiers
A touch of pure vanilla extract isn't just for flavor; it brightens and enhances the chocolate notes, adding complexity. A tiny pinch of salt is also crucial, as it balances the sweetness and makes the chocolate flavor pop even more.
Your Easy Chocolate Ice Cream Recipe: Step-by-Step Guide
Ready to get started? This chocolate ice cream recipe is straightforward, requiring about 15 minutes of active prep time. However, patience is key, as chilling and freezing are essential steps.
Ingredients You’ll Need:
- 2 cups heavy cream (or heavy whipping cream)
- 1 cup whole milk
- 3/4 cup granulated sugar
- 1/2 cup unsweetened cocoa powder
- 4 oz semi-sweet chocolate, finely chopped
- 1 teaspoon pure vanilla extract
- A pinch of salt
Prep & Chill Time: The Patience Factor
While hands-on time is minimal, plan for approximately 2 hours to properly chill your base mixture, followed by about 4 hours in the freezer (either churning or still-freezing). This means you'll want to start at least 6 hours before you plan to serve, or even the day before for best results.
The Blending Process (with Pro Tips!)
- Combine Your Base: In a medium saucepan, whisk together the whole milk, granulated sugar, unsweetened cocoa powder, and a pinch of salt. Place the saucepan over medium heat. Stir constantly with a whisk to ensure the cocoa powder fully dissolves and the sugar melts. Important: Do not allow the mixture to boil. You just want it hot enough for everything to combine smoothly, usually when small bubbles start to form around the edges.
- Melt the Chocolate: Once the mixture is smooth and warm, remove the saucepan from the heat. Immediately add the finely chopped semi-sweet chocolate. Continue stirring until the chocolate is completely melted and incorporated, creating a rich, glossy, silky mixture. This off-heat melting prevents scorching the chocolate.
- Add Cream and Vanilla: Pour in the cold heavy cream and stir in the pure vanilla extract. Mix everything together thoroughly until the base is perfectly smooth and uniform in color.
- Chill Thoroughly: Transfer the chocolate ice cream base to an airtight container or cover the saucepan. Place it in the refrigerator and chill for at least 2 hours, or ideally, overnight. A well-chilled base is crucial for achieving the best texture during the churning or freezing process.
Churning or Freezing: The Path to Creaminess
- With an Ice Cream Maker: Once your base is thoroughly chilled, pour it into your ice cream maker and churn according to the manufacturer's instructions. This typically takes 20-30 minutes, or until the ice cream reaches a soft-serve consistency. Transfer to an airtight container and freeze for at least 3-4 hours to firm up before serving.
- Without an Ice Cream Maker: Don't have an ice cream machine? No problem! This method is a bit more hands-on but delivers beautifully creamy results.
- Pour your chilled ice cream base into a shallow, freezer-safe dish (a 9x13-inch baking dish works well).
- Place the dish in the freezer. After 30 minutes, remove it and vigorously stir the mixture with a fork, scraping the frozen edges towards the center. This breaks up ice crystals.
- Repeat this stirring process every 30 minutes for about 2-3 hours, or until the ice cream reaches a firm, scoopable consistency.
- For more detailed instructions on this method, check out our guide on Homemade Chocolate Ice Cream: Easy Recipe, No Machine Needed.
Beyond the Basics: Tips, Variations & Troubleshooting
Elevate your homemade chocolate ice cream even further with these insights:
For a Deeper Chocolate Experience:
- Espresso Powder: A pinch (1/2 teaspoon) of instant espresso powder added with the cocoa will intensify the chocolate flavor without adding a coffee taste.
- Mixed Chocolates: Experiment with a blend of dark and semi-sweet chocolates for a more complex profile.
- Chocolate Chunks: Once the ice cream reaches a soft-serve consistency (during churning or before its final freeze for no-churn), fold in chocolate chips, chopped chocolate bars, or even brownie pieces for added texture.
Quick & Easy No-Cook Variation:
If you're really short on time or prefer to avoid the stovetop entirely, a no-cook version of chocolate ice cream is also an option. These recipes often rely on sweetened condensed milk and whipped cream to achieve a creamy base without any heating. While the flavor profile might be slightly different, it’s incredibly convenient. For a super-fast treat, explore options like our No-Cook Chocolate Ice Cream: 5 Ingredients for a Quick Treat.
Troubleshooting Common Issues:
- Icy Ice Cream: This often happens if there isn't enough fat in the base, if the mixture wasn't stirred enough during no-churn freezing, or if it was churned too slowly in a machine. Ensure your base is well-chilled and follow the instructions carefully.
- Too Hard to Scoop: Your ice cream might be over-frozen. Let it sit out at room temperature for 5-10 minutes before scooping. Adding a tablespoon of alcohol (like vodka or a chocolate liqueur) to the base can also help prevent it from freezing too solid, though this will slightly alter the flavor.
Serving Suggestions:
This easy chocolate ice cream recipe is delightful on its own, but it truly shines when paired with other desserts. Serve it over a warm fudgy brownie, alongside a slice of apple pie, or with fresh berries. It's also fantastic simply piled high in a waffle cone or turned into a rich milkshake.
Storage:
Store your homemade chocolate ice cream in an airtight container in the coldest part of your freezer for up to 2-3 weeks. To prevent freezer burn, you can press a layer of parchment paper directly onto the surface of the ice cream before sealing the container.
Making your own rich and creamy chocolate ice cream from scratch is an incredibly rewarding experience. This easy chocolate ice cream recipe allows you to create a dessert that surpasses store-bought versions in flavor, texture, and pure satisfaction. With simple ingredients and clear steps, you're just a few hours away from enjoying a truly indulgent homemade treat. So, go ahead, whip up a batch, and savor the unparalleled taste of your very own creation!
